Counsellor's Guide
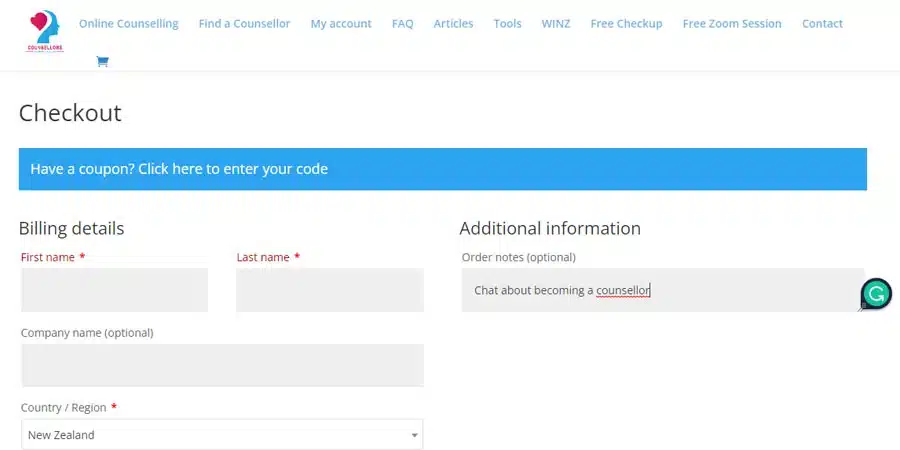
Book a free Zoom appointment via the following link: https://www.counsellors.co.nz/product/free-15-minute-one-time-only-booking/
Order Notes explain that you would like to have a chat about becoming a counsellor
Registration
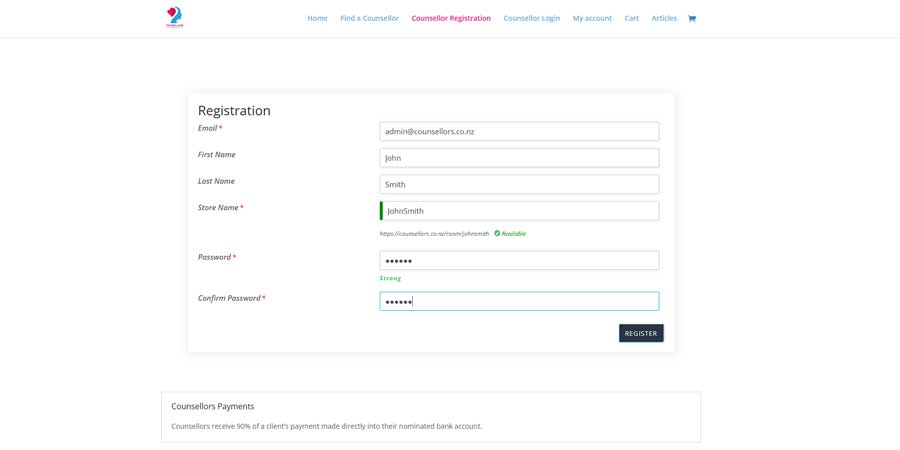
Sign up via the following link: https://counsellors.co.nz/vendor-register/
Enter your email address
Your First & Last Name
Under Store Name put your own name eg: John-Smith
Then set up a Password (6 character min & good security level)
Please wait while admin staff help connect your counsellors account to Zoom.
Link Counsellors Account to a Zoom Account
The first thing we need to do from this end is to send a request to Zoom to link your account so that our software can set up Zoom meetings when a client books with you.
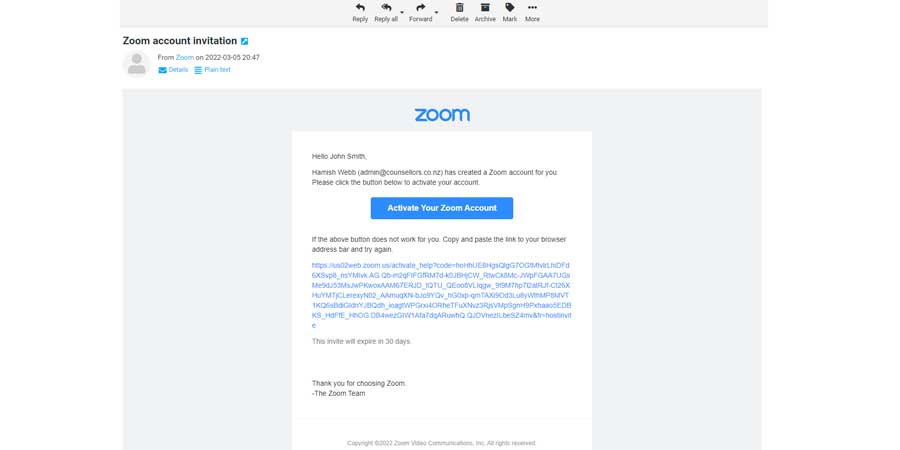
After we send this request, you should receive an email from Zoom asking you to activate your Zoom account.
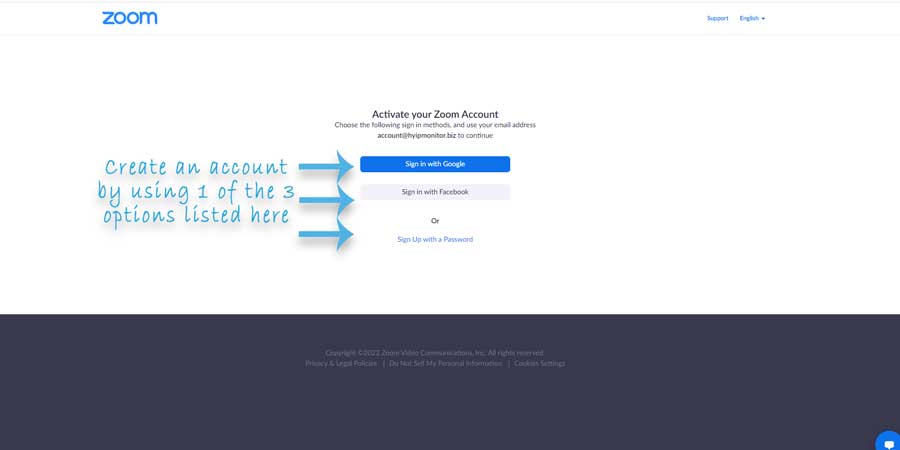
Once you click on the link in this email from Zoom, you will also need to set up a Zoom account by either signing in with Google, or Facebook or signing up with a password. You can also use an existing Zoom account.
Zoom Basic accounts limit your session to 40 minutes. Zoom Pro accounts extend that limit to 30 hours per meeting. Once Linked to Counsellors NZ, only we can upgrade your Zoom account. Upgrading to a Zoom Pro Account through us is $20 per month. You can use either the Free Zoom Basic Account or the paid Zoom Pro Account on Counsellors NZ.
You can use your upgraded Zoom account for Counsellors NZ clients and your private clients.
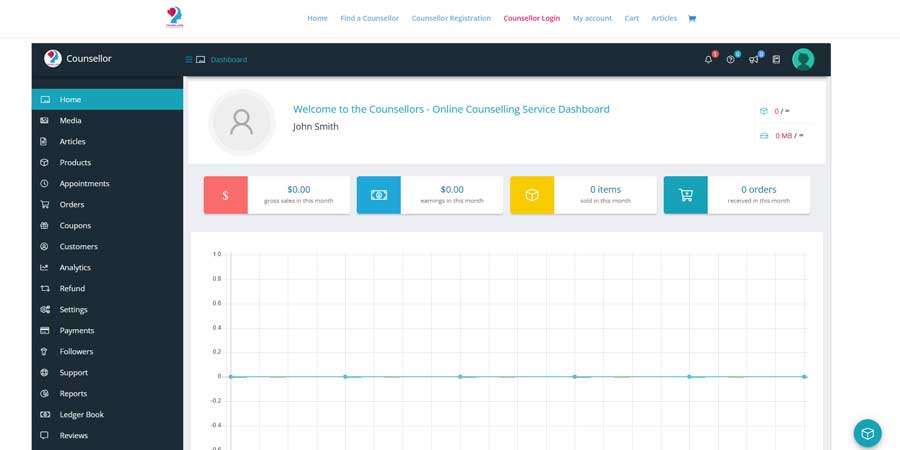
Signing into your Counsellors Dashboard
Once your Zoom account is connected and your Counsellors account is approved, you will be able to sign in.
You can sign in to your account via this link: https://counsellors.co.nz/my-account/
When signing in for the first time, you may be presented with a Store Setup Screen.
Just click “Not right now” and you will be taken to your personal dashboard.
Create an Appointable Product
Now you will want to create a product in order to start offering your counselling or support services.
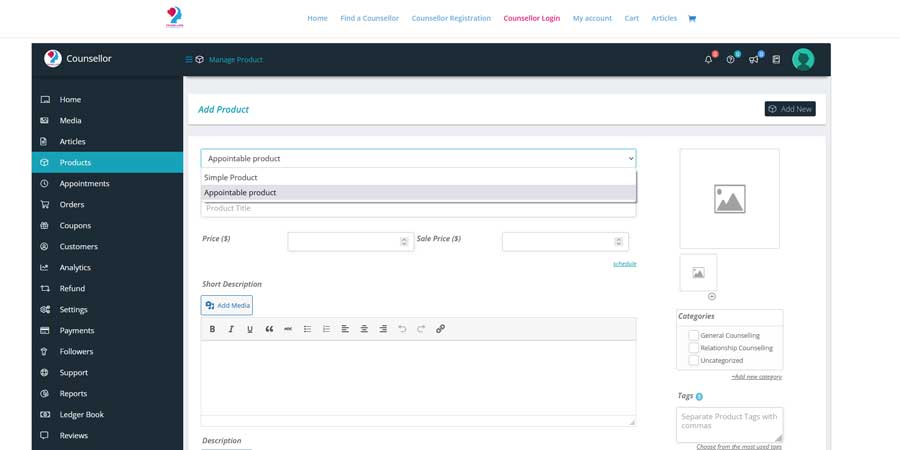
Under Products, click “Add New“.
The first thing you will see is a “Simple Product”. This could be used if you want to sell a book or guide to clients.
For now you can just change that “Simple Product” to “Appointable Product” and check “Virtual“
For the Product Title, describe what type of support or counselling you are offering. Expand on this title in the Short Description. You are also welcome to add a new category for it.
Upload a picture of yourself by clicking the right picture box (MIN SIZE 300px:300px please).
You don’t need to write anything in the description box, just the short description box.
Setting Your Available Times
Under Appointable, you can set up how your calendar looks. For example, setting the duration to 50 mins will tell the client and zoom the appointment for 50 minutes.
Once in a Zoom session, things can run behind schedule and go over the 50 mins, Zoom won’t cut you off.
Important: If you have a Basic Zoom Membership and have not upgraded through us for $20 per month. Zoom will limit all sessions to 40 minutes and cut you off!
Leaving an Interval at 1 hour will mean all appointments start on the hour. If you have set these first 2 correctly you won’t need to set padding time and can leave it at 0.
You will still get 10 minutes between sessions.
Lead time is really important – how much notice do you need after the client books and pays for a session? 24 hours is probably a good starting point and go from there.
Setting Your Available Days
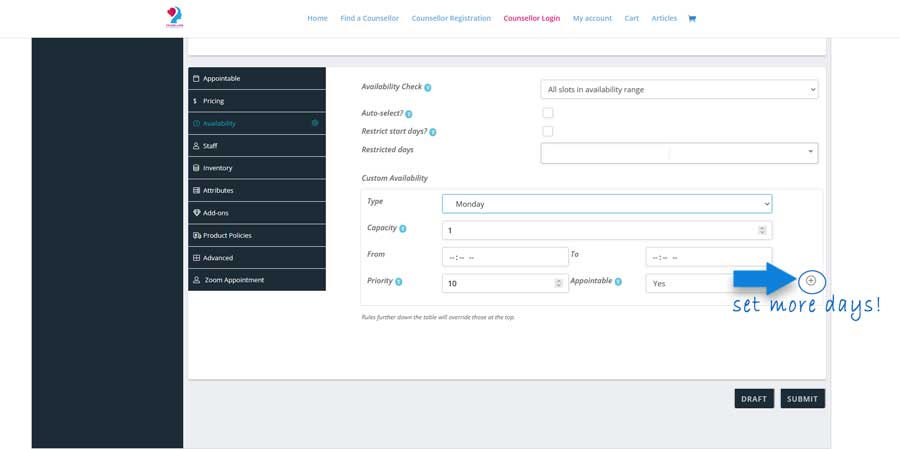
The best place to start is under Custom Availability and type select each day you wish to make yourself available eg “Monday” then add Capacity 1.
Capacity is really important, increasing it beyond 1 means that you will be running some kind of workshop with multiple participants being able to book for the same session.
Fill in your available times, then if you want to work more than one day, hit the plus sign at the bottom right and set up another Custom Availability Box
Remember to Submit your settings – by clicking the SUBMIT button at the bottom of the page!
Everything is live and will appear on the website immediately – so then go back to the main homepage and check if everything is how you want it.
Getting Paid
Under “Settings”, select “Payment”
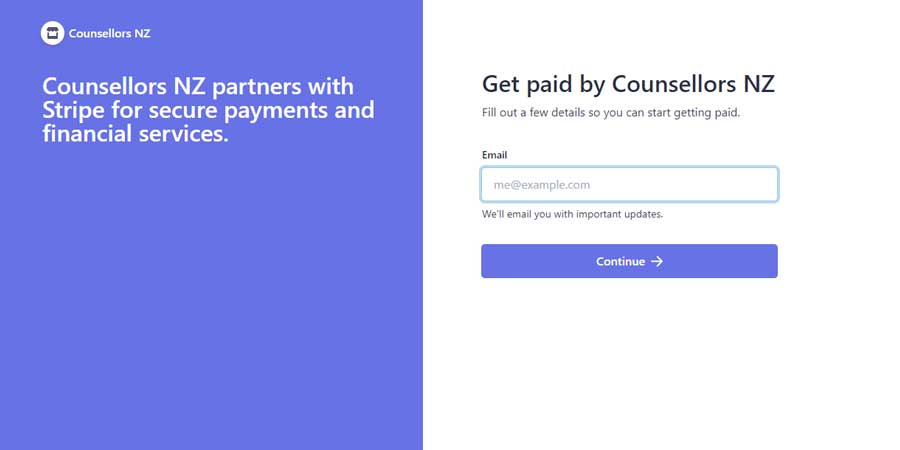
As a Preferred Payment Method, select “Stripe” and create a Stripe Express Account with Counsellors NZ.
Payments
From here, follow the steps to create your Stripe Express Account. Stripe automatically transfers payments to your bank account. The process usually takes around seven days from when a client pays.
Fees
Counsellors NZ charges a flat fee of 6.9%. Stripe fees are in addition to this fee and are currently 2.7%+NZ$0.30 per transaction.
To log in to your Counsellors NZ Stripe Express account, use this link: https://connect.stripe.com/express_login.

